SSL Certificate is very important for any website. SSL stands for Secure Socket Layer. If you have a website, You should install a premium or free SSL certificate on your website. Because Google recommends installing an SSL certificate on your website. If you don’t have SSL on your website, Google google mark your website as “Not Secure” on the address bar. SSL encrypts data between your website visitor and your server. So hacker doesn’t steal data from your website visitor. Also, SSL Certificate improves your website rankings.
To install SSL, You need to buy an SSL certificate from the domain registrar like Namecheap, Godaddy, etc. For a single SSL certificate, you have to pay a minimum of $10. But most people don’t want to pay for SSL certificates. In this article, I will show you step by step tutorial on How to install a free SSL certificate for a lifetime? Please read this post till the end or watch my video on youtube.
How to install a free SSL Certificate?
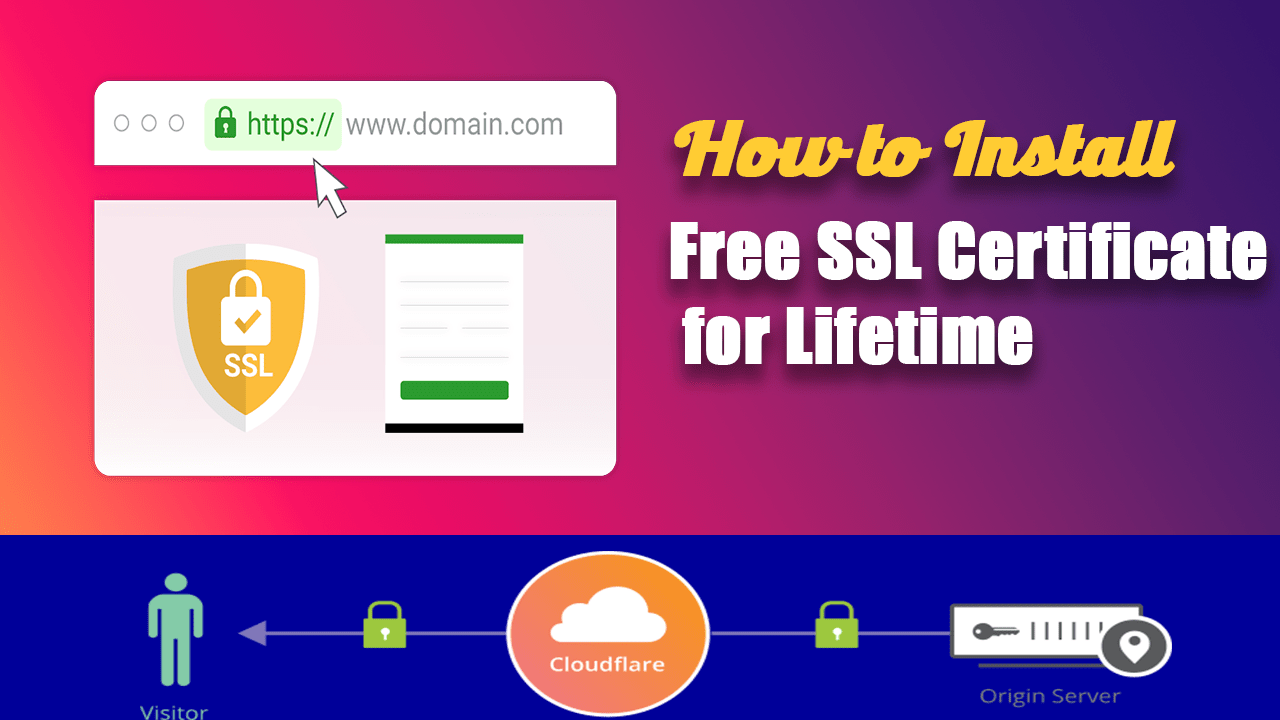
You can get a free SSL certificate for a lifetime from Cloudflare. Cloudflare is one of the world’s most popular and largest cloud network platforms. Millions of users use their service for increasing the security and performance of their websites. They also offer free CDN (Content Delivery Network) services.
Here you can see how Cloudflare SSL works?

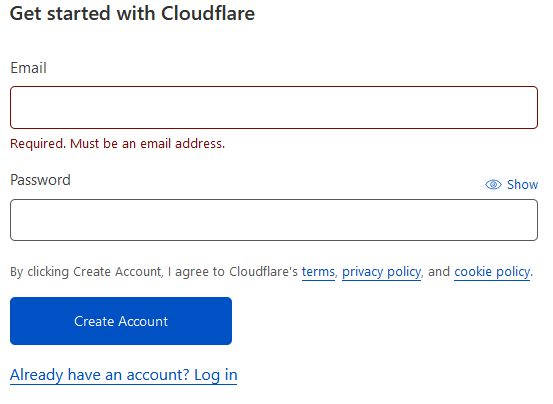
Step 1: Signup an account on Cloudflare
To get an SSL certificate and enable HTTPS on your website, first, you need to signup for a Cloudflare account. Go to Cloudflare signup and enter your email address and password to create an account.
Step 2: Add your website on Cloudflare
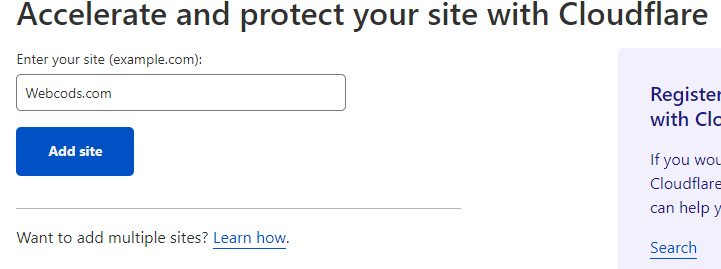
After creating your Cloudflare account, You have to add your website on Cloudflare to get an SSL Certificate. Now log in to your account on Cloudflare and click on Add Site button. Then enter your website and click on Add site.
Step 3: Select a plan from Cloudflare
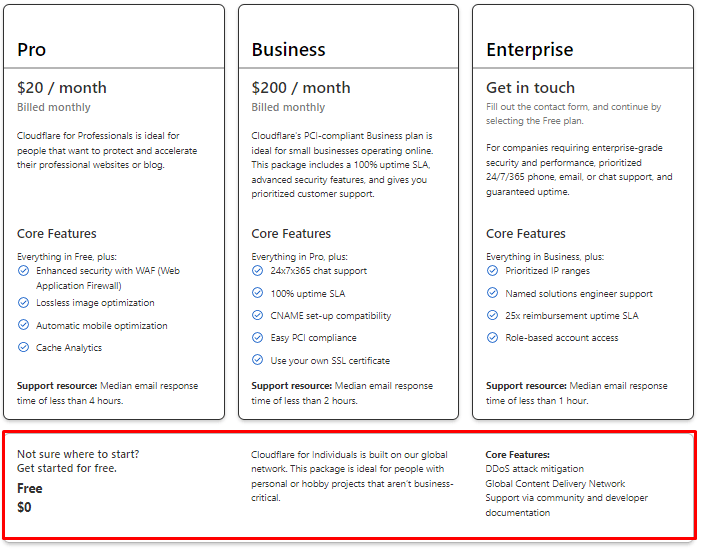
Then you need to select a plan from Cloudflare. To get a free SSL certificate, just click on the free plan and Continue. If you want more features, You can buy a premium plan from Cloudflare.
Step 4: Scan and Review Your Website DNS Records
Cloudflare will automatically scan your website’s DNS records.
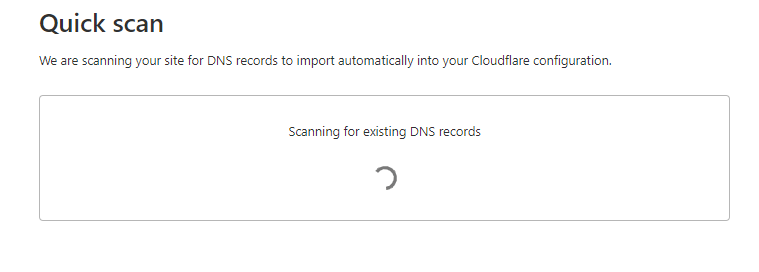
Once it’s done, Cloudflare show you all your website DNS records to review. If you have experience, You can modify your website’s DNS record. I will suggest you, don’t modify DNS records and click on continue.
Step 5: Change Your Domain Nameservers
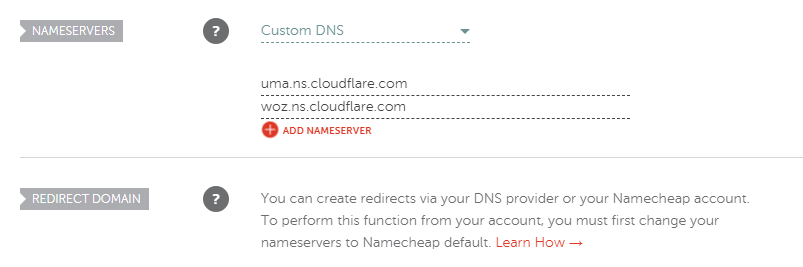
To connect your website with Cloudflare, You need to your domain with Cloudflare Nameserver. Cloudflare will show you 2 nameservers to replace with your domain current nameservers.
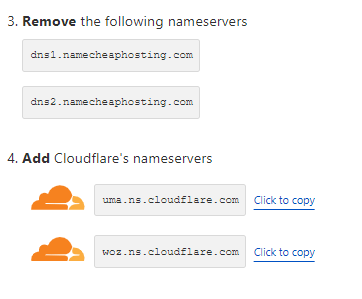
To change your nameserver, You have to log in to your domain registrar and Replace your current nameservers with these Cloudflare nameservers. I register my domain from Namecheap. So I need to log in to my Namecheap account and change my domain nameservers.
Now click on Done, Check Nameservers. It will take up to 5 minutes to 24 hours to connect your domain with Cloudflare. Once it’s pointed with Cloudflare, you will see this message “Greate News Cloudflare is Now Protecting Your Site”.
Step 6: Create a Free SSL from Cloudflare
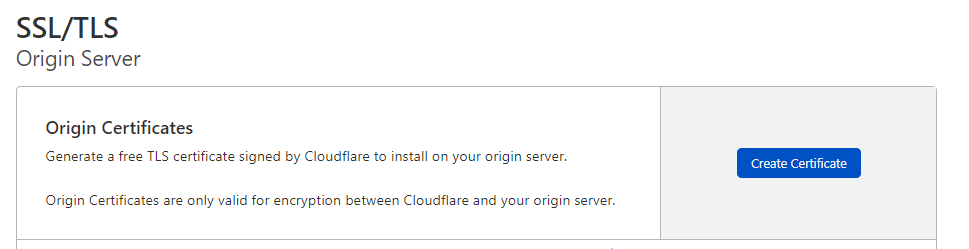
Now let’s create a Free SSL Certificate from Cloudflare. Go to SSL > Origin Server from the Cloudflare Dashboard sidebar. From the Origin server, You need to create a Free SSL certificate. To create an SSL certificate click on Create Certificate button.
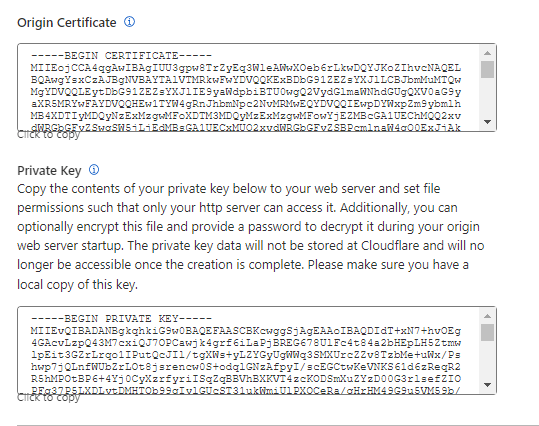
Now Cloudflare asking to generate a private key. Select Generate private key and CSR with Cloudflare, hostname as default, Certificate validity 15 years. All values leave it as default and click on create button. Cloudflare will show you generate Free SSL Certificate. This SSL certificate is generated for 15 years.
Step 7: Install Free SSL Certificate on Server (Cpanel/Plesk etc.)
After generating a free SSL certificate, You need to install this SSL on your website Cpanel web server. Open a new tab on your browser, and log in to your website control panel. From Cpanel, go to SSL/TLS section and find Manage SSL Sites. Now go to Manage SSL Sites, Select your domain, and copy-paste the SSL certificate and private key from Cloudflare. Don’t need to enter anything on Certificate Authority Bundle: (CABUNDLE) and click on Install Certificate. That’s it. I hope you installed the free SSL certificate successfully. It will take some time to activate SSL. Now try to visit your website with HTTPS. If SSL is not working, try to clear your browser cache or visit your website again after 5 minutes.

Step 8: Redirect HTTP to HTTPS
After installing an SSL certificate on your website, you should redirect your website user to HTTPS. If you don’t redirect HTTPS, Your website traffic will not go through SSL and use a non-secure HTTP connection. For WordPress, You could install these “Really Simple SSL” or “Cloudflare” plugins. It will redirect your WordPress website to all visitors to HTTPS. For full instructions read, How to Redirect HTTP to HTTPS.
Cpanel/Apache Https Redirect
For a custom website, Add the following code in the .htaccess file in your website root directory. This simple piece of code will redirect your all visitor to HTTPS.
RewriteEngine on
RewriteCond %{HTTP:CF-Visitor} '"scheme":"http"'
RewriteRule (.*) https://www.example.com/$1 [R=301,L]
If you couldn’t install free SSL yet, Please watch this video tutorial below. For more information about Cloudflare SSL, visit Cloudflare.com/ssl. Thank You.